
Hey there! Are you tired of shelling out big bucks at the salon every time you want a fresh manicure? Well, you’re in luck because I’ve got some exciting news for you. In recent years, the world of at-home manicures has undergone a major glow-up, making it easier than ever to achieve professional-looking nails without ever leaving your couch. Imagine having beautifully polished nails at your fingertips whenever you want, without the hassle of booking appointments or waiting for your turn. Sounds like a dream, right? But trust me, it’s totally achievable, and I’m here to show you how.
Understanding the Basics
Nail Anatomy: Know Your Nails
Before diving into the manicure process, it’s essential to understand the basic anatomy of your nails. From the cuticle to the free edge, each part plays a crucial role in nail health and appearance.
Nail Care: Preparing Your Canvas
Proper nail care sets the foundation for a flawless manicure. This includes trimming, shaping, and buffing your nails to create a smooth surface for polish application.
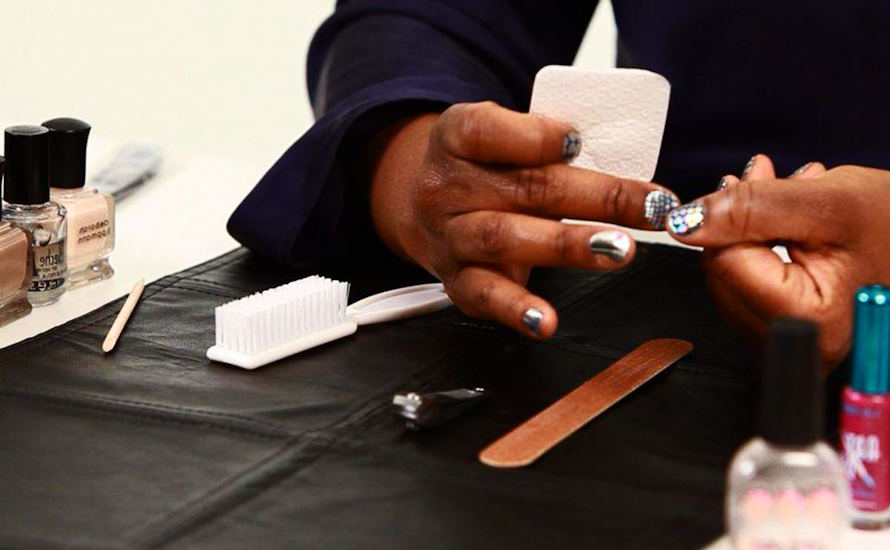
Gathering Your Tools
Essential Tools for a Professional Finish
From nail clippers to cuticle pushers, assembling the right tools is key to achieving professional results at home. Invest in high-quality products that will last and enhance your manicure experience.
Nail Polish Selection: Choosing the Perfect Shades
With a vast array of nail polish colors and finishes available, selecting the right shades can be overwhelming. Consider your skin tone, occasion, and personal style when curating your nail polish collection.
Step-by-Step Guide to a Perfect Manicure
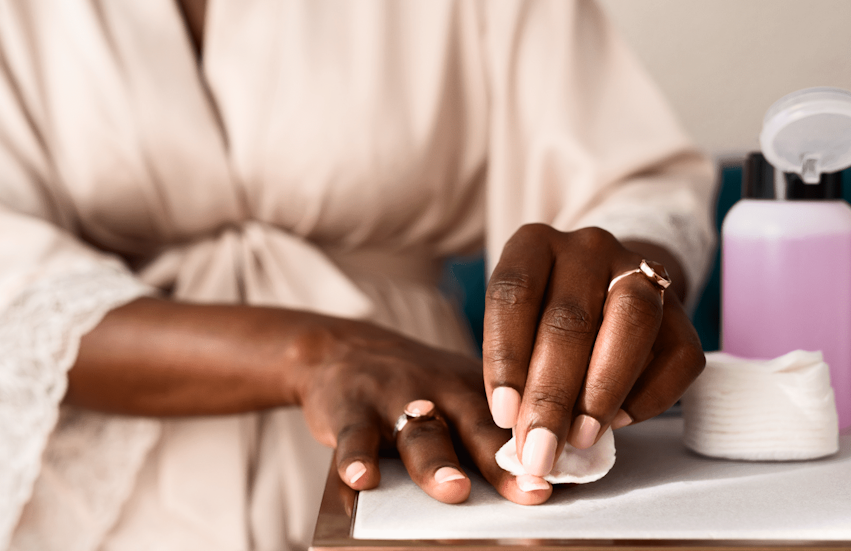
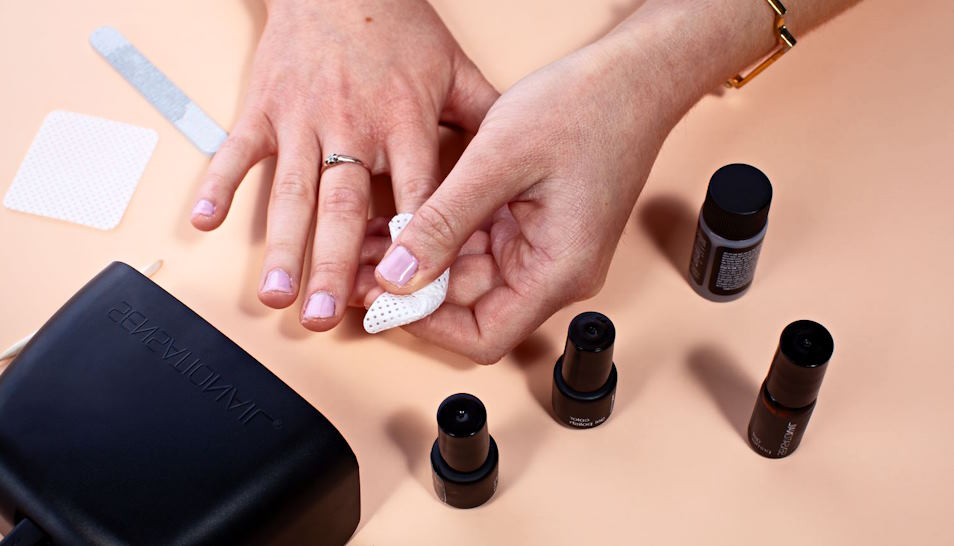
- Step 1: Remove Old Polish
Start by removing any existing polish using an acetone-free nail polish remover. This gentle formula prevents drying out your nails and cuticles.
- Step 2: Soak and Soften
Soak your hands in warm, soapy water to soften the cuticles and nails. This step makes it easier to push back the cuticles and ensures a clean, polished look.
- Step 3: Shape and Buff
Using a nail file, shape your nails to your desired length and style. Gently buff the surface of each nail to smooth out any ridges or imperfections.
- Step 4: Push Back Cuticles
With a cuticle pusher or orangewood stick, gently push back the cuticles to reveal more of the nail bed. Be careful not to cut or damage the delicate skin surrounding the nails.
- Step 5: Moisturize
Apply a nourishing cuticle oil or hand cream to hydrate and soften the skin around your nails. This step promotes healthy nail growth and prevents dryness and cracking.
- Step 6: Apply Base Coat
Start with a clear base coat to protect your nails and extend the life of your manicure. Allow the base coat to dry completely before moving on to the next step.
- Step 7: Paint Your Nails
Carefully apply your chosen nail polish color in thin, even coats, starting from the center of the nail and working towards the edges. For best results, apply two to three coats, allowing each layer to dry fully before adding the next.
- Step 8: Add Top Coat
Finish your manicure with a clear top coat to seal in the color and add shine. This final step enhances the longevity of your polish and provides a professional-looking finish.
Tips for Long-Lasting Results
Protect Your Manicure
To prolong the life of your manicure, avoid activities that can chip or damage your nails, such as typing or washing dishes without gloves. Use a protective top coat every few days to maintain shine and durability.
Maintain Healthy Nails
In between manicures, practice good nail hygiene by moisturizing regularly and avoiding harsh chemicals or excessive filing. Trim your nails regularly to prevent breakage and promote strong, healthy growth.
